Advanced Color Theme Sass Mixin (Part 2)

Working from our basic Sass color theme mixin, we'll explore how to create a more powerful and flexible theming system using Sass. The secret: nested maps in Sass. This technique will allow us to set multiple values for various color combinations, helping us to create robust and customizable color themes.
The Initial Approach
In our previous code, we used a Sass map and a mixin to switch colors based on different themes such as light, dark, and accent. Although it does work, this approach required numerous if-statements and lacked flexibility when dealing with multiple color variations. Our goal is to enhance this system and make it more scalable. Check out the original code below or on Github.
@use "sass:map";

$themes: (
    light: #fff,
    dark: #121212,
    accent: blue,
);

@mixin section-color-theme($theme: light) {
    @if $theme == light {
        color: map.get($themes, dark);
        background-color: map.get($themes, $theme);
    }
    @if $theme == dark {
        color: map.get($themes, light);
        background-color: map.get($themes, $theme);
    }
    @if $theme == accent {
        color: map.get($themes, dark);
        background-color: #ccc;
        h1, h2 {
            color: map.get($themes, accent);
        }
    }
}

section.light {
    @include section-color-theme(light);
}
section.dark {
    @include section-color-theme(dark);
}
section.accent {
    @include section-color-theme(accent);
}
Nested Maps
Sass provides a powerful feature called nested maps, which allows us to nest one map within another. We'll use this to create a more efficient and flexible color theming system.
Here's a comparison of where we came from:
$themes: (
    themeName: value,
    ...
);
...to where we can go:
$themes: (
    themeName: (firstKey: firstValue, secondKey: secondValue),
    ...
);
Creating the Mixin
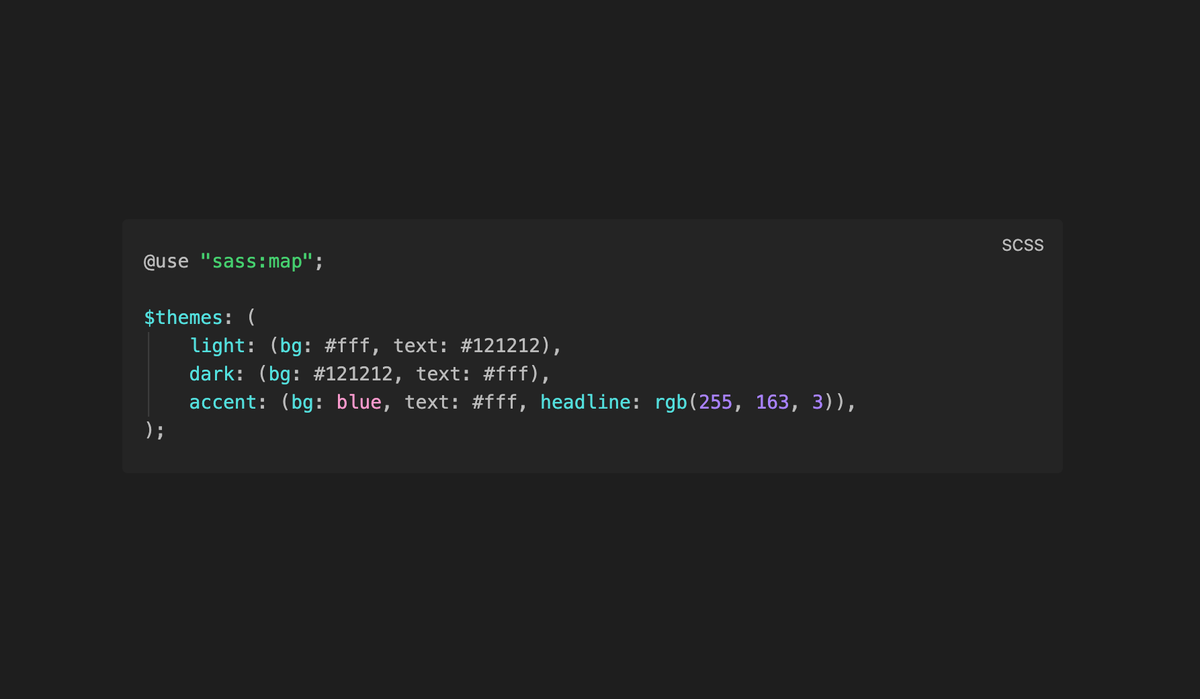
To begin, let's refactor our existing code. We'll define a nested map for each theme: "light," "dark," and "accent." Within each theme, we'll set properties like background (bg) and text color (text). This way we can get rid of the cascade of if-statements and instead define our them as needed.
$themes: (
    light: (bg: #fff, text: #121212),
    dark: (bg: #121212, text: #fff),
    accent: (bg: blue, text: #fff, headline: rgb(255, 163, 3)),
);
You'll notice that the last theme is the only one that has headline defined—which means we can have optional values that don't apply to every theme! (We'll go over this more below)
Enhancing the Color Theming
With our nested maps in place, we can now easily grab the desired color values for each theme. Instead of using multiple if-statements, we can simply pass the theme name as a parameter to the mixin, and it will get the corresponding color values from the nested maps.
Here is our new mixin and a theme declaration for <section class="dark">:
@mixin section-color-theme($theme: light) {
    color: map.get(map.get($themes, $theme), text);
    background-color: map.get(map.get($themes, $theme), bg);
}

section.dark {
    @include section-color-theme(dark);
}
The include statement passes in "dark" which the mixin then looks up in the map, getting these values:
dark: (bg: #121212, text: #fff),
Then it simply sets the color and background-colors to the corresponding keys. The line in the mixin here:
color: map.get(map.get($themes, $theme), text);
...is saying grab the "dark" theme from the "outer" map, then from the "dark" map, get the value for the key, "text."
Expanding the Possibilities
The beauty of this approach is that we can easily accommodate additional color variations without cluttering our code with excessive if statements. By adding new properties to our nested maps, such as "headline" for different headline colors, we can get even more customization out of our color theming system.
$themes: (
    ...
    accent: (bg: blue, text: #fff, headline: rgb(255, 163, 3)),
);
Going back to our "accent" theme, which has the unique property of "headline," we can add back an if-statement to handle this optional value. For example:
@mixin section-color-theme($theme: light) {
color: map.get(map.get($themes, $theme), text);
background-color: map.get(map.get($themes, $theme), bg);
@if $theme == accent {
h2 {
color: map.get(map.get($themes, $theme), headline);
}
}
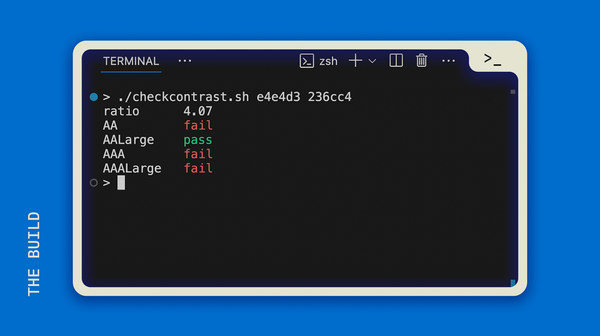
}Considerations for Accessibility
While implementing color theming, make sure to consider accessibility. Check that the contrast between text and background colors meets accessibility guidelines. You can create more mixins or if-statements to target specific heading levels (e.g., H1, H2, H3) and handle any content-specific differences.
Stay DRY!
By using these nested maps, we've successfully created a DRY mixin for color theming. We're able to define multiple color combinations and get rid of, or at least simplify our code, depending on if we need optional properties. This opens up tons of possibilities for creating dynamic and customizable user interfaces. Here's our final code, altogether. Enjoy!
/* Final code on Github: https://github.com/NotDefinedTech/sass-color-theming/blob/7664a968a315b71850d313865f1fc640f0be7e41/refactor-color-themes.scss */

@use "sass:map";

$themes: (
    light: (bg: #fff, text: #121212),
    dark: (bg: #121212, text: #fff),
    accent: (bg: blue, text: #fff, headline: rgb(255, 163, 3)),
);


@mixin section-color-theme($theme: light) {
    color: map.get(map.get($themes, $theme), text);
    background-color: map.get(map.get($themes, $theme), bg);
    @if $theme == accent {
        h2 {
            color: map.get(map.get($themes, $theme), headline);
        }
    }
}

section.light {
    @include section-color-theme(light);
}
section.dark {
    @include section-color-theme(dark);
}
section.accent {
    @include section-color-theme(accent);
}